As a supplier of U15 Mini-Pleat ULPA Filters, I've encountered numerous inquiries from customers regarding the ease of replacing these essential filtration components. In this blog post, I'll delve into the intricacies of U15 Mini-Pleat ULPA Filter replacement, offering insights based on my experience in the industry.
Understanding U15 Mini-Pleat ULPA Filters
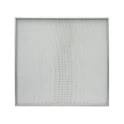
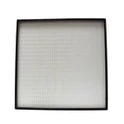
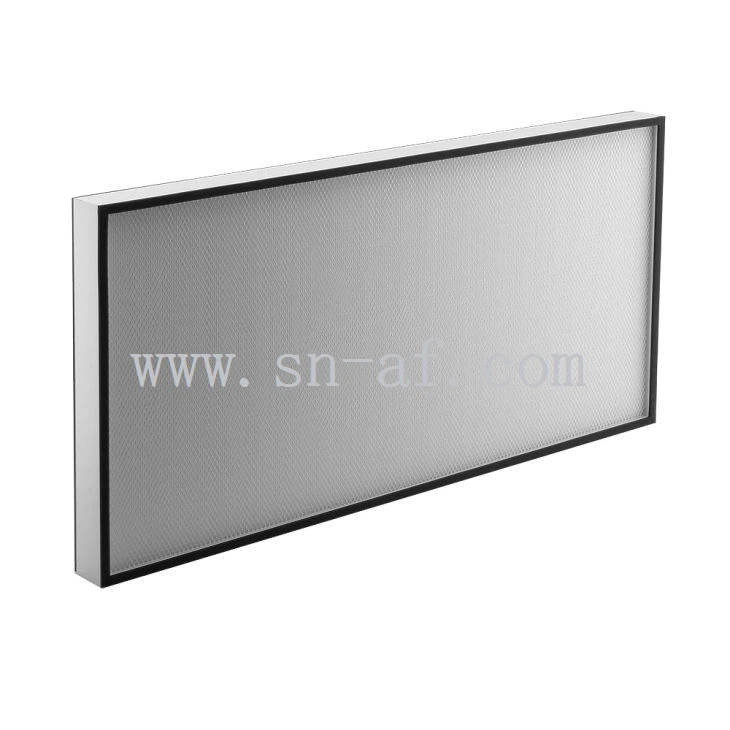
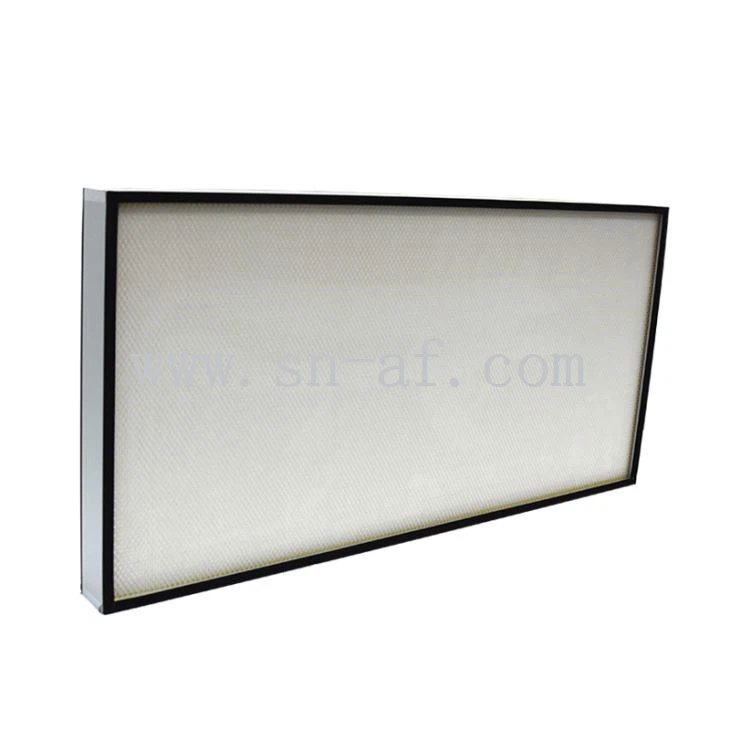
Before discussing the replacement process, it's crucial to understand what U15 Mini-Pleat ULPA Filters are and their significance in various applications. ULPA (Ultra Low Penetration Air) filters are designed to remove extremely fine particles from the air, with a filtration efficiency of 99.999% or higher for particles as small as 0.12 microns. The U15 rating indicates a specific level of filtration performance within the ULPA category.
The mini-pleat design of these filters offers several advantages. It maximizes the filter media surface area within a compact frame, allowing for higher airflow rates and longer service life. U15 Mini-Pleat ULPA Filters are commonly used in critical environments such as semiconductor manufacturing facilities, pharmaceutical cleanrooms, and hospitals, where maintaining a high level of air purity is essential.
You can learn more about U15 Mini-Pleat ULPA Filters on our website: U15 Mini-Pleat ULPA Filter.
Factors Affecting Filter Replacement
Several factors influence the ease of replacing U15 Mini-Pleat ULPA Filters. These include the filter's design, installation method, and the specific requirements of the application.
Filter Design
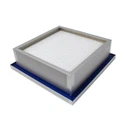
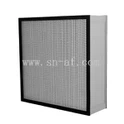
The design of the U15 Mini-Pleat ULPA Filter plays a significant role in its replaceability. Filters with a well-designed frame and sealing mechanism are generally easier to install and remove. For example, filters with a snap-in or gasketed frame can be quickly and securely installed without the need for complex tools or additional sealing materials.
In addition, the size and weight of the filter can also impact the replacement process. Larger and heavier filters may require more manpower and specialized equipment for handling, which can increase the complexity and time required for replacement.
Installation Method
The installation method used for U15 Mini-Pleat ULPA Filters can vary depending on the application. Some filters are installed in a horizontal position, while others are installed vertically. The orientation of the filter can affect the ease of access and the ability to remove and replace it.
For example, filters installed in a horizontal position may be more accessible from above, allowing for easier removal and replacement. On the other hand, filters installed vertically may require more careful handling to prevent damage during removal and installation.
Application Requirements
The specific requirements of the application can also influence the ease of filter replacement. In some critical environments, such as semiconductor manufacturing facilities, strict cleanroom protocols must be followed during filter replacement to prevent contamination. This may include wearing protective clothing, using specialized cleaning equipment, and following specific procedures for handling and disposing of used filters.
In addition, the location of the filter within the ventilation system can also affect the replacement process. Filters located in hard-to-reach areas may require the use of specialized tools or equipment to access and replace them.
Steps for Replacing U15 Mini-Pleat ULPA Filters
Despite the potential challenges, replacing U15 Mini-Pleat ULPA Filters can be a relatively straightforward process if the proper steps are followed. Here's a general guide to help you through the replacement process:
Step 1: Prepare the Work Area
Before starting the replacement process, it's important to prepare the work area. This includes turning off the ventilation system to prevent the spread of dust and contaminants, wearing appropriate protective clothing, and laying down protective covers to catch any debris that may fall during the replacement process.
Step 2: Remove the Old Filter
Once the work area is prepared, carefully remove the old filter from its housing. This may involve unscrewing or unclipping the filter frame, depending on the installation method. Be sure to handle the old filter with care to prevent damage and avoid releasing any trapped particles into the air.
Step 3: Inspect the Housing
After removing the old filter, inspect the filter housing for any signs of damage or debris. Clean the housing thoroughly using a vacuum cleaner or a damp cloth to remove any dust or dirt that may have accumulated.
Step 4: Install the New Filter
Once the housing is clean, carefully install the new U15 Mini-Pleat ULPA Filter. Make sure the filter is properly aligned and seated in the housing, and that the sealing mechanism is intact. If necessary, use a gasket or sealing tape to ensure a tight seal between the filter and the housing.
Step 5: Test the System
After installing the new filter, turn on the ventilation system and check for any signs of air leakage or abnormal airflow. Monitor the system for a few hours to ensure that the new filter is functioning properly and that the air quality has improved.
Tips for Easy Filter Replacement
To make the replacement process even easier, here are some additional tips:
- Plan Ahead: Schedule filter replacements in advance to minimize downtime and ensure that all necessary tools and equipment are available.
- Train Your Staff: Provide training to your staff on the proper procedures for filter replacement to ensure that the process is carried out safely and efficiently.
- Use the Right Tools: Use the appropriate tools and equipment for the replacement process, such as screwdrivers, pliers, and a vacuum cleaner.
- Follow the Manufacturer's Instructions: Always follow the manufacturer's instructions for filter replacement to ensure that the filter is installed correctly and that the warranty remains valid.
Conclusion
In conclusion, while there are several factors that can affect the ease of replacing U15 Mini-Pleat ULPA Filters, the process can be relatively straightforward if the proper steps are followed. By understanding the filter's design, installation method, and the specific requirements of the application, you can ensure a smooth and efficient replacement process.
If you have any questions or need further assistance with U15 Mini-Pleat ULPA Filter replacement, please don't hesitate to contact us. We're here to help you find the right filtration solutions for your needs.
In addition to U15 Mini-Pleat ULPA Filters, we also offer a wide range of other high-quality filtration products, including U17 Mini-Pleat ULPA Filter and U16 Mini-Pleat ULPA Filter. Contact us today to learn more about our products and how we can help you improve your air quality.
References
- "ULPA Filters: A Guide to Ultra Low Penetration Air Filtration." Filtration + Separation, [publication date].
- "Cleanroom Filtration Systems: Design, Installation, and Maintenance." Cleanroom Technology, [publication date].
- Manufacturer's documentation for U15 Mini-Pleat ULPA Filters.